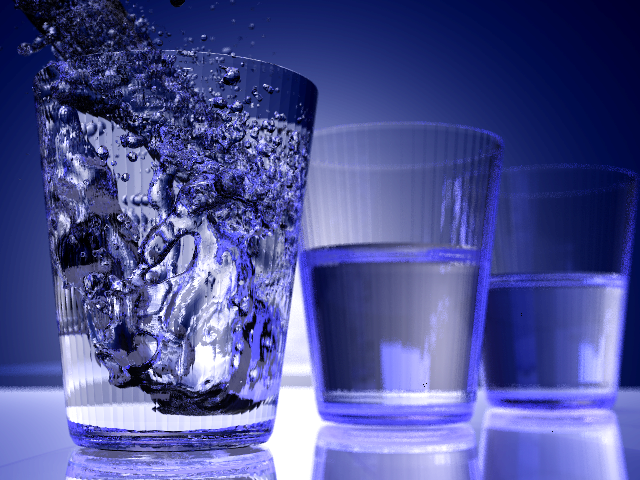
I created this image for the CS 148 Raytraced image assignment as a lead-up to the final assignment. There's also a link to the sample code.
I found a handy web tutorial that showed how to create realistic water in Blender. Blender itself has an excellent rendering engine, but for the purposes of this assignment I wasn't able to use it.
One point to note is that because of the many layers of water surfaces that form when it is poured, rays that go through it have to bounce around a lot before they find a light source (if at all). I used a bounce depth of 9 and a bigger offset (1000x larger) for ray reflections off water compared to other materials. Even with a sampling rate of 4 and a relatively small resolution of 800 x 640 pixels, the final render took 3 hours to complete.
Most of the time was spent tweaking the lighting and material properties, and also waiting for the latest render to complete. Raytracing is a lot slower than scanline rendering!
Update (Dec 14)
I did more work on this for the final image submission.
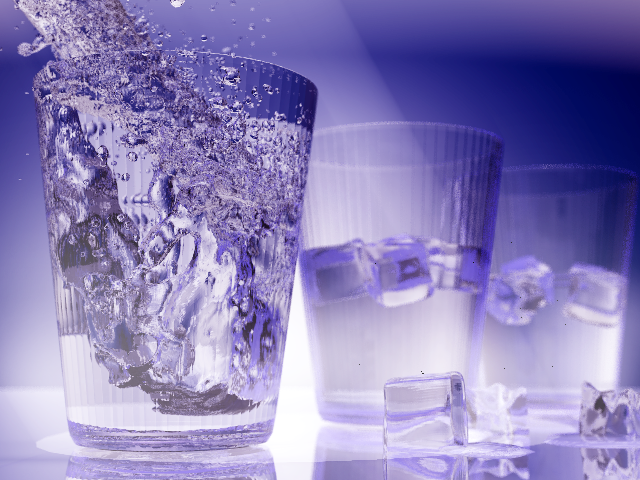
Added some participating media effects, so you can see the spotlight and the occlusion the first cup causes. Added ice and some fog effects to make it look colder too.
After the long render times for the first image, I followed the course staff's advice and split it into sub-images to render, then composite it all again using ImageMagick. I broke the image down into a 7x7 grid, and the cell with the longset time took about 2 hours to render with a bounce depth of 11 and sampling of 4.
Can't decide if I like this version better or the original one. I think the color balance on the original is better, and the shadows on the pouring water is nicer too. But the final version has more going on in it, and the ice cubes are a nice addition.
Files
Cup: cup.obj
Backdrop Image: backdrop.png
Melted ice on table: iceOnTable.obj
The water-pouring file is too large to host, but you can always email me to ask for a copy.